


In this post, we'll be covering what an IPAM (IP Address Manager) is, and its use in AWS with its specific implementation via AWS VPC IPAM.
What is an IPAM?
IPAM, or IP Address Management, is not strictly an AWS product. There are many pieces of IPAM software out there, such as NetBox for example.
IPAM, whether it's AWS, NetBox, etc is a piece of software that allows the administration and tracking of IP addresses throughout your infrastructure. Instead of utilising software such as spreadsheets and other documents, the software's sole purpose is to assist in managing these address spaces.
Some iterations of IPAM software, such as NetBox even go a step further, allowing addition and management of;
- VLANs (Virtual Local Area Networks)
- NATs (Network Address Translations)
- VRFs (Virtual Router and Forwarding)
- ASNs (Autonomous System Numbers for BGP, etc)
- and more.
Typically, IPAM software has API access, allowing for automation and deployment of configuration where required.
What is AWS IPAM?
AWS IPAM is an AWS native service designed to help users manage their IP addresses across their AWS environment and on-premises networks. It's a tool that assists in, organising, allocating, monitoring and automation of IP address usage.
Features of AWS IPAM
- Monitoring of IP address space in use
- AWS IPAM dynamically reports back on IP address space usage and maps those addresses to the resources identified.
- View historic usage of IP addresses
- AWS IPAM allows for the historic reporting of where IP addresses were used previously.
- Automatic allocation of CIDRs to VPCs based on different rules
- Having this ability will allow you to ensure non-overlapping IP ranges to avoid routing conflicts, allocated larger CIDR blocks to VPCs that require more IP addresses, reserve certain IP address ranges for future use or a specific application, reduce human error and more.
- Aid in troubleshooting of network issues
- Alerts and notifications
- IPAM can send alerts if it detects issues like IP address conflicts or depletion.
- Integration with other AWS tools
- IPAM works with services like VPC Flow Logs and CloudTrail to provide better insights into network activity and help diagnose problems.
- Alerts and notifications
AWS IPAM Pricing
Easiest way to think about pricing around AWS IPAM is;
- Bringing your own IP address space (Public IP range) is free.
- Private IP address management and extra features costs $0.00027 per active IP managed by IPAM.
Full IPAM pricing is available on the AWS VPC page as a tabbed option.
Working with AWS IPAM
How to set up and use AWS VPC IPAM.
Make sure you are in the region where you want to set up IPAM (Not required, but it helps with setting up locales, etc).
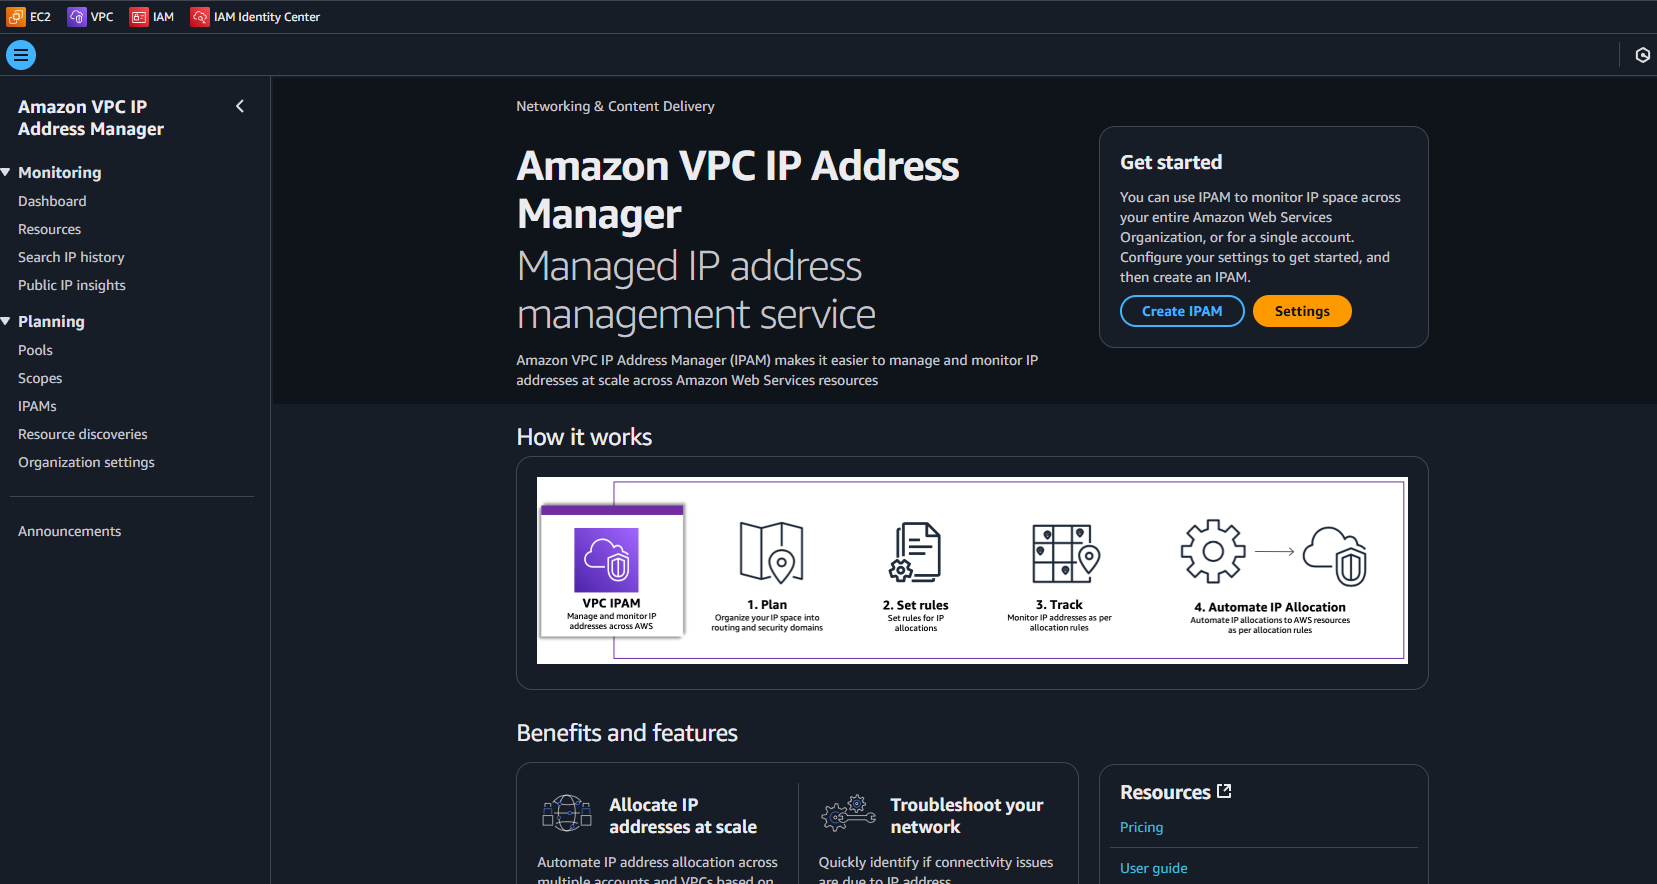
Search for VPC IP Address Manager in your console and select it.
Select Create IPAM on the right of the service window.
Select Allow Data Replication, then advanced tier. This allows you to utilise IPAM for private IP address schemes.
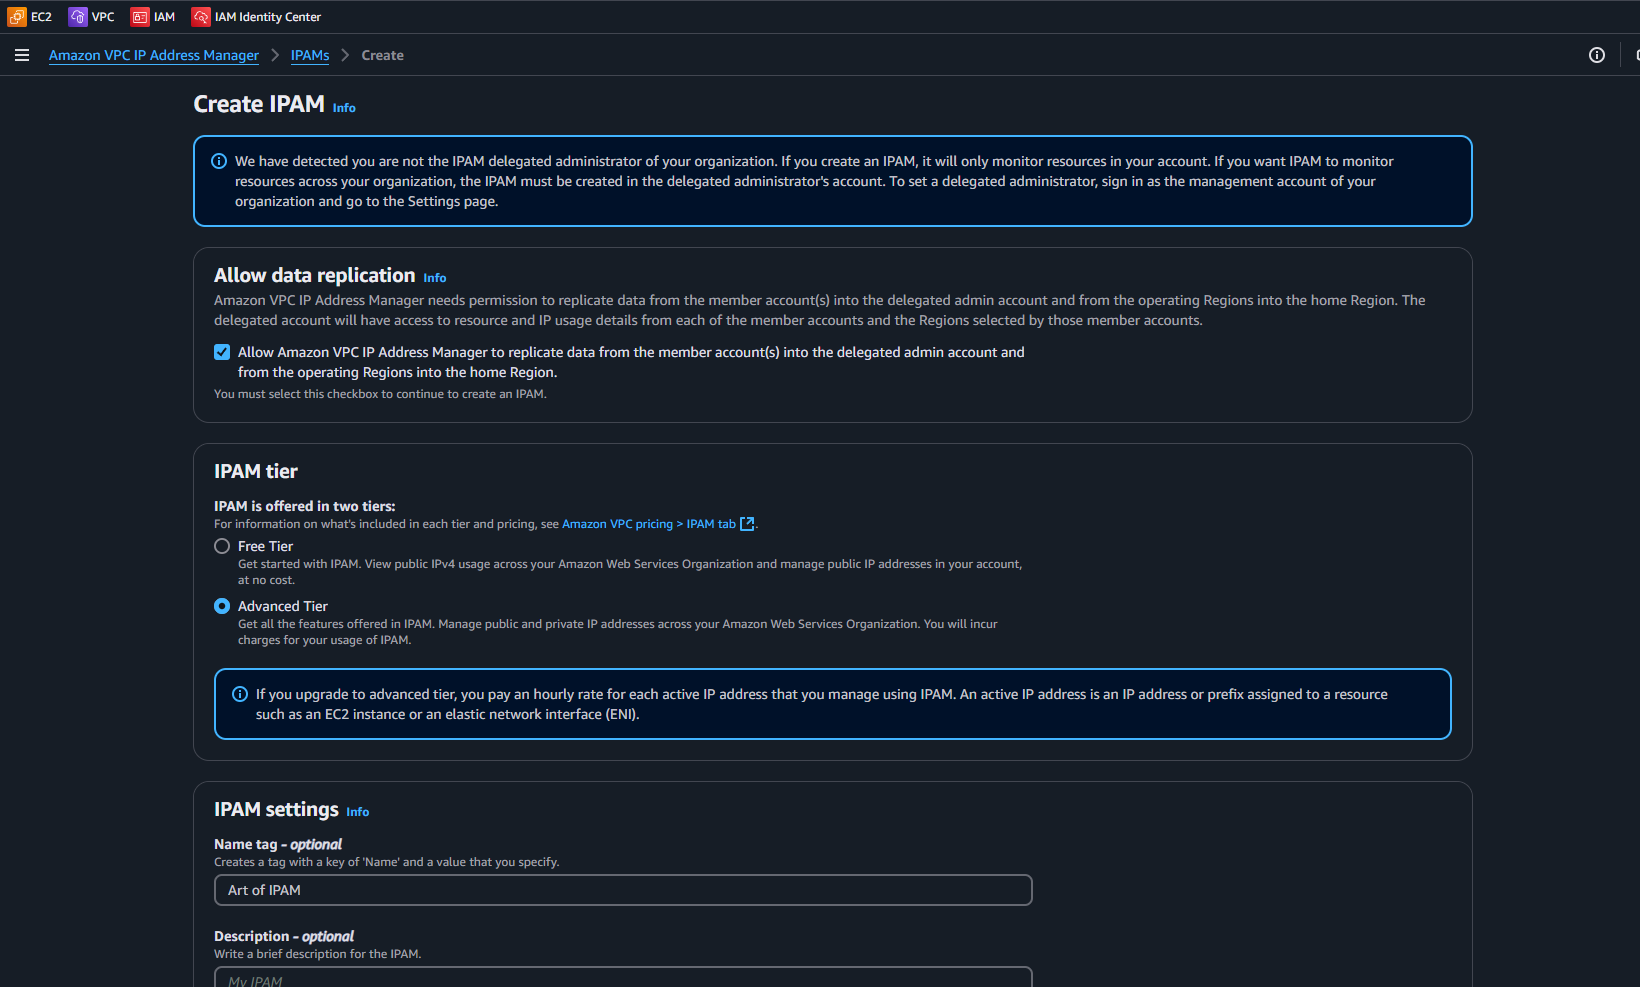
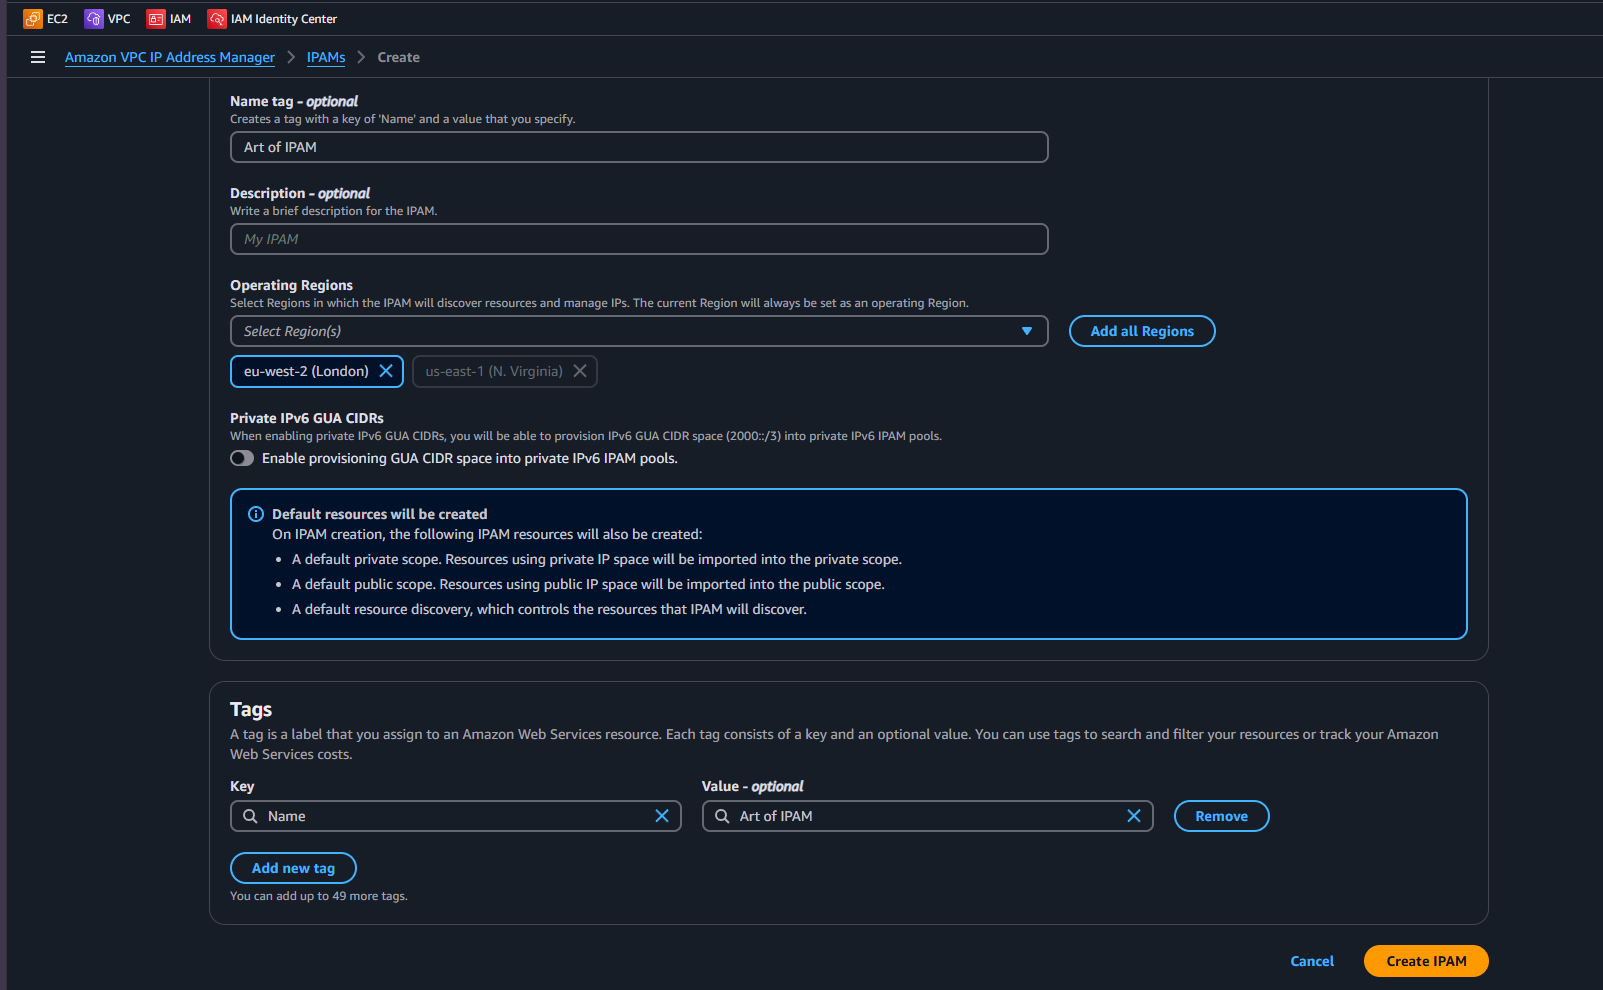
Ensure the operating region is highlighting the region you wish to deploy IPAM. Select "Create IPAM".
Scopes created by default. Scopes help you segment, organise, and track IP address space usage across multiple regions or environments.

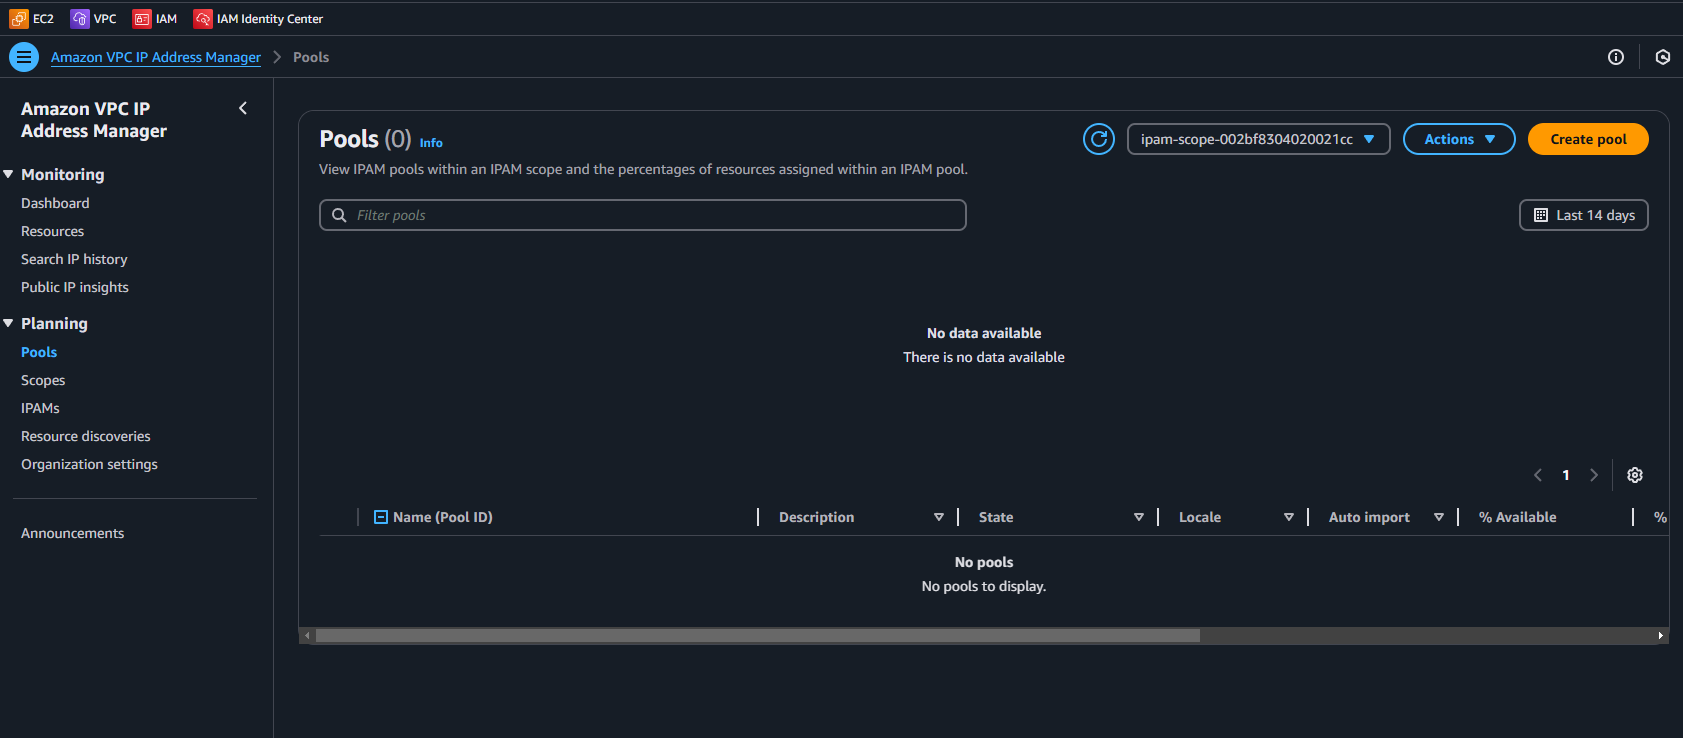
Create an address Pool. Select Pools on the left, then create your first pool.
Give the Scope a name.
Choose an address family. For this example, we're using IPv4.
Select "Plan IP space within the scope" and the locale (EU west 2 in my case).
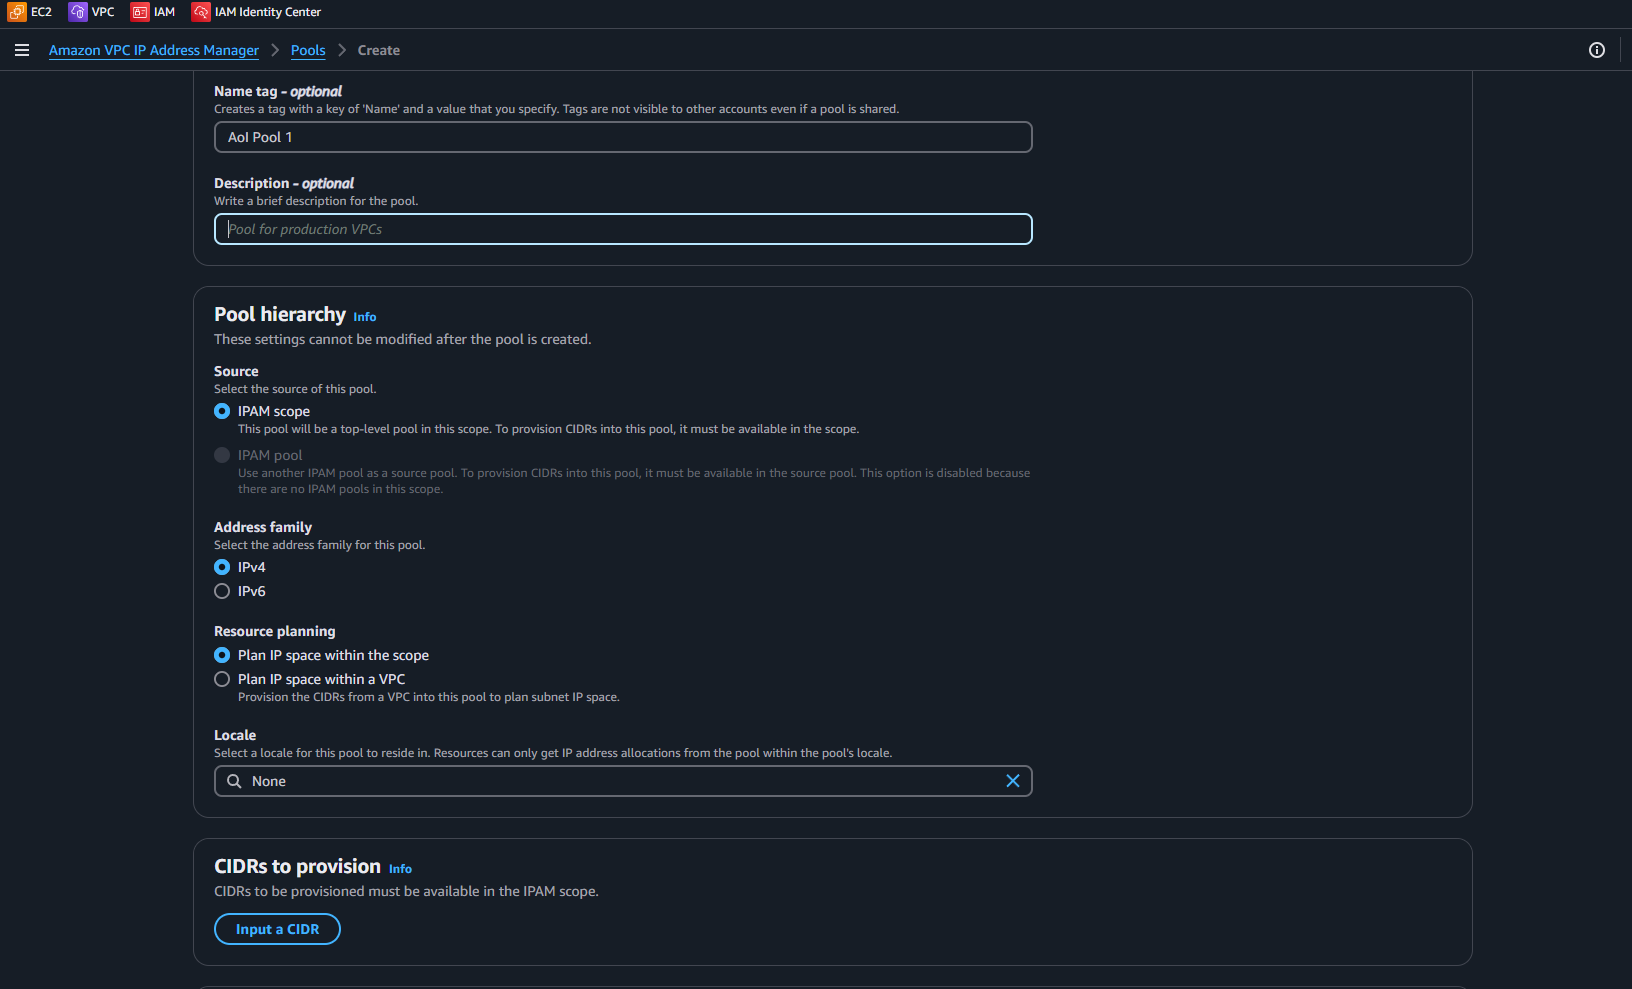
Input CIDR range. For this example, we'll be using 10.0.0.0/8 (Class A, 16,777,216 addresses). You would narrow down your CIDRs for the pool where required in production. For now, we're just setting this up for testing/demo.
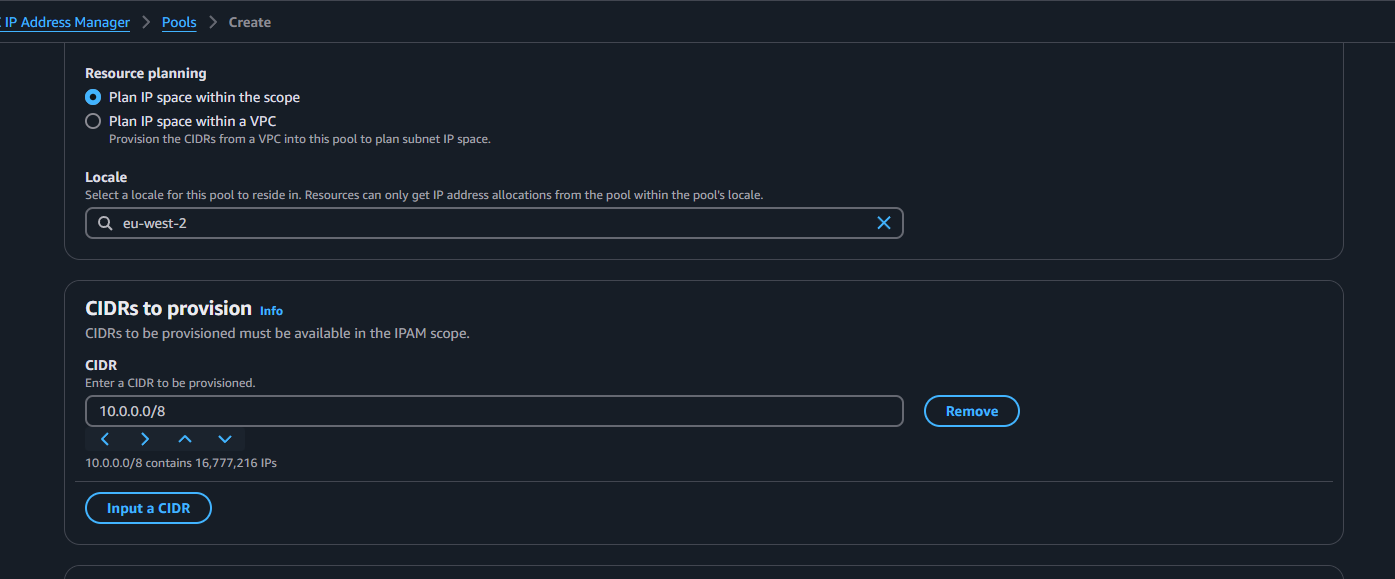
Select "Create Pool".
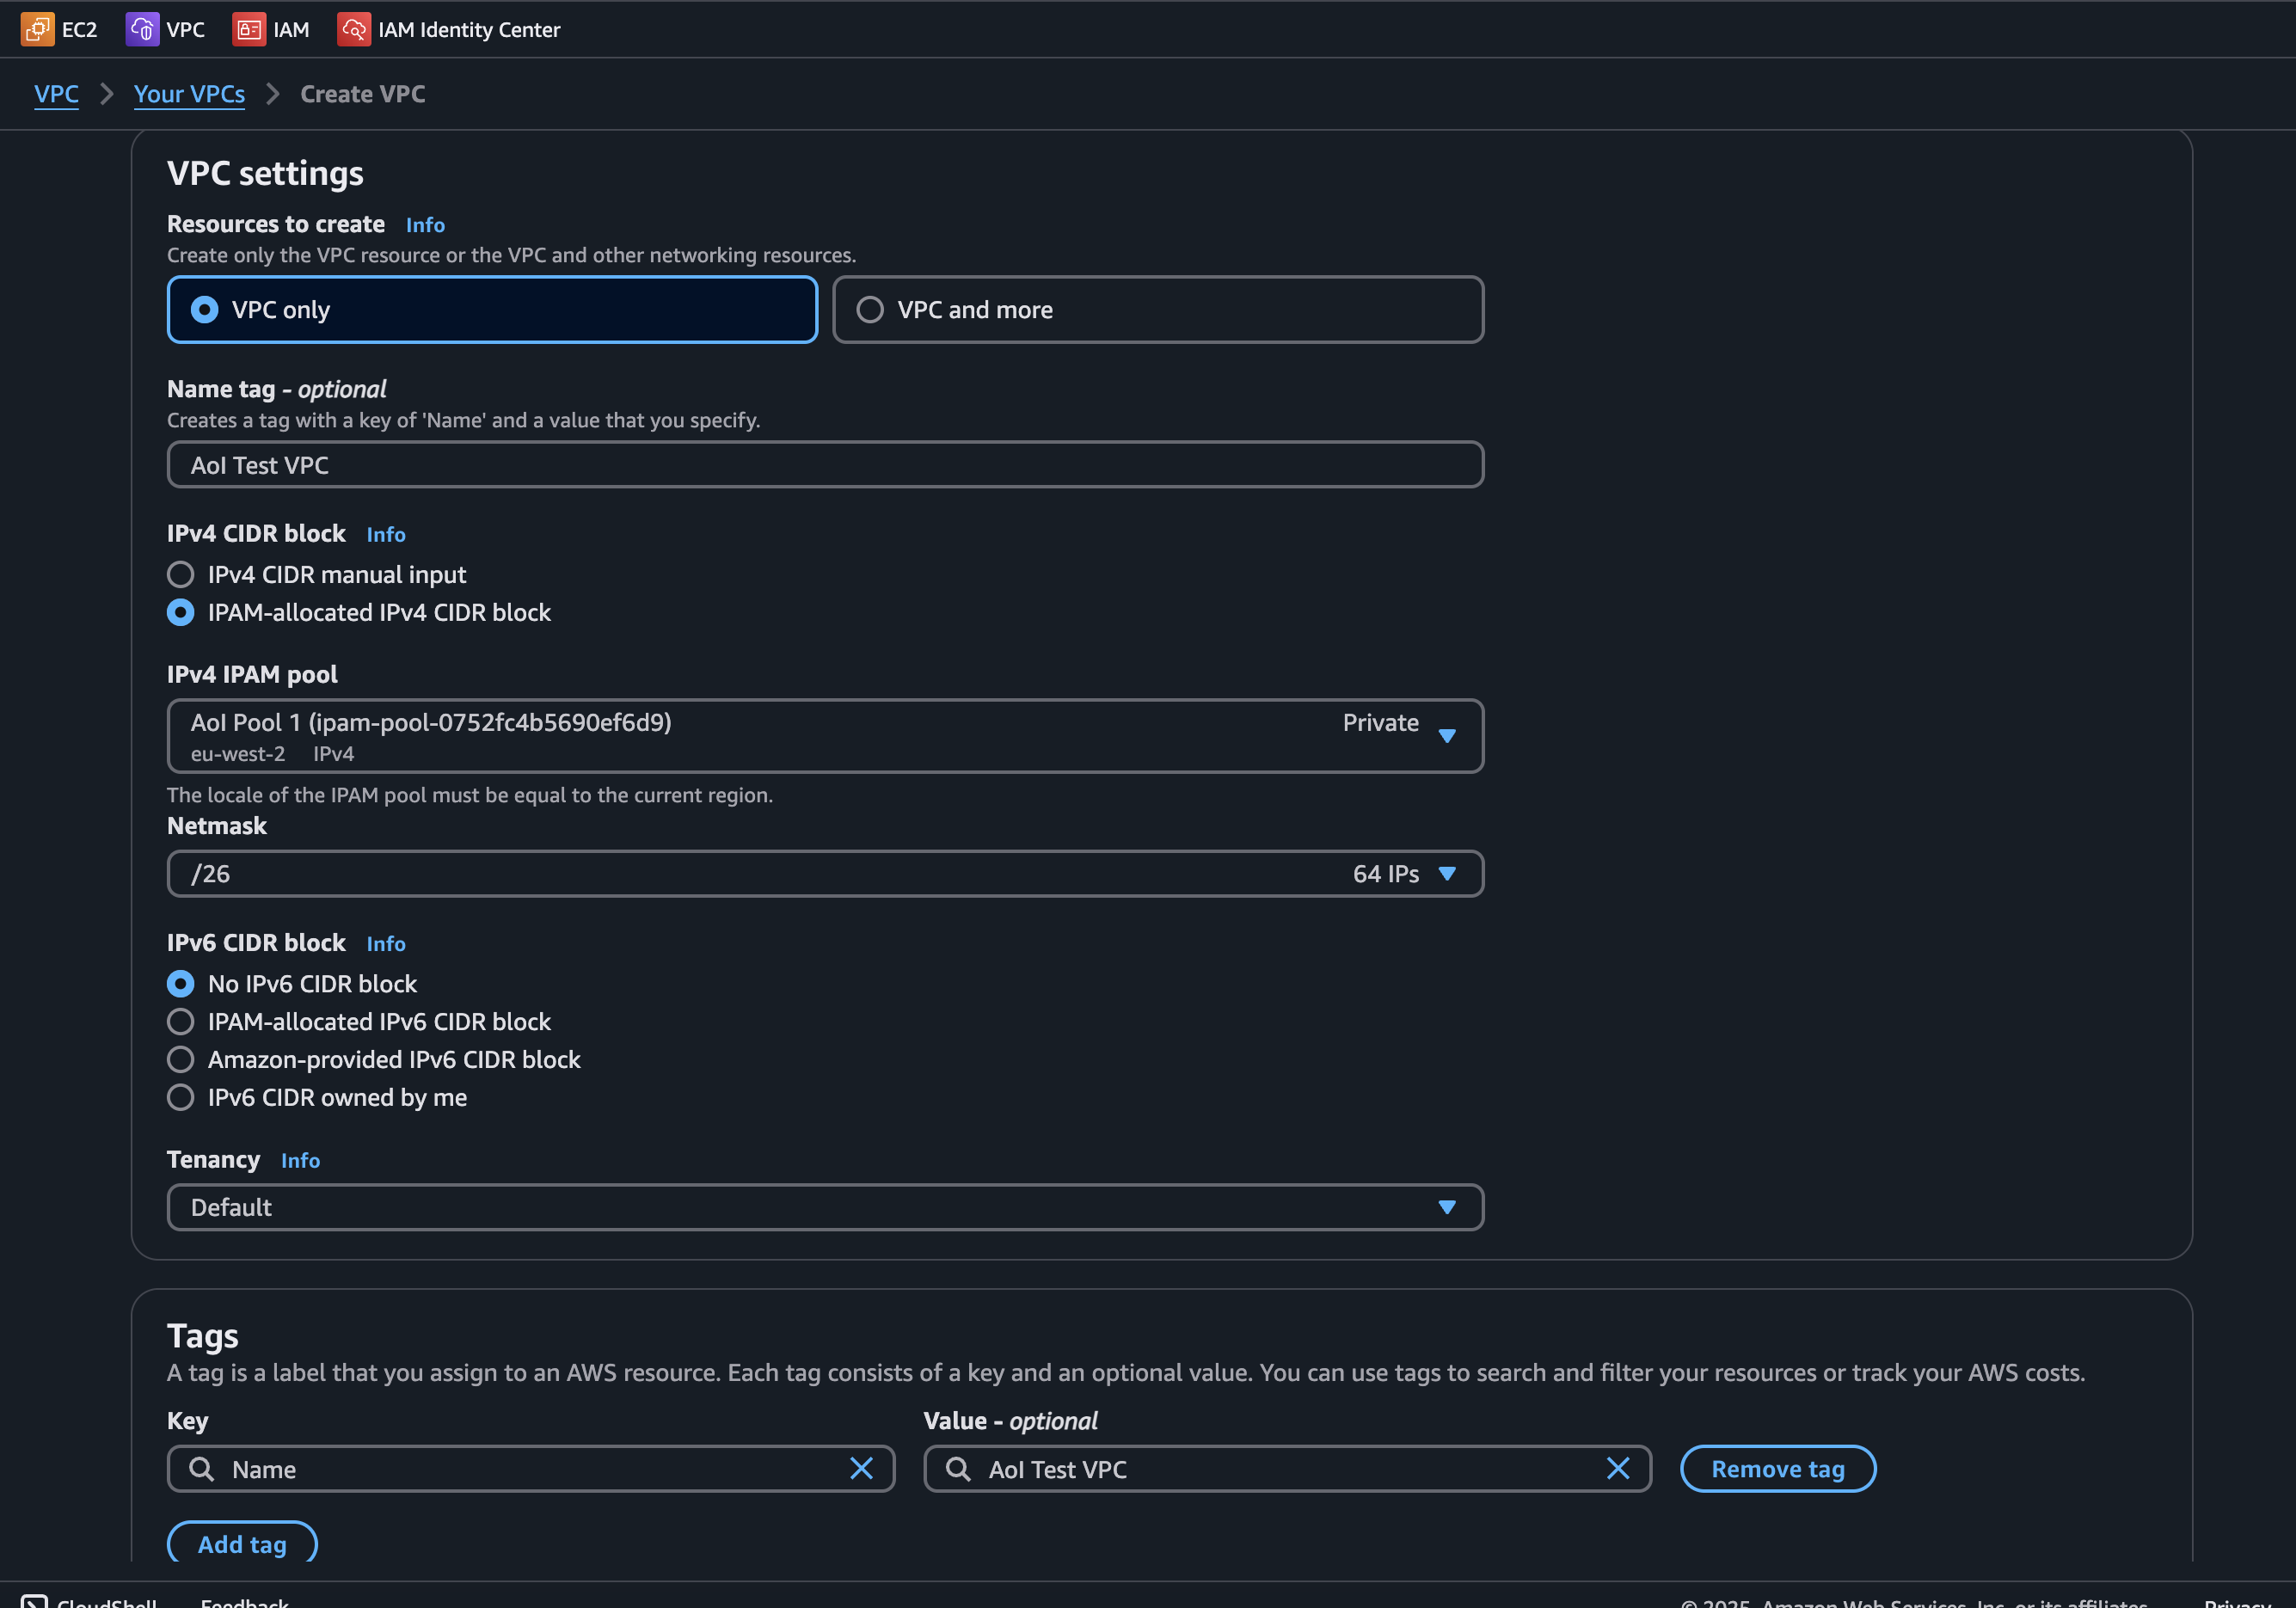
Create VPC in the region we specified earlier. selecting the pool and address space to use. Select a Netmask. Make sure to select your pool.
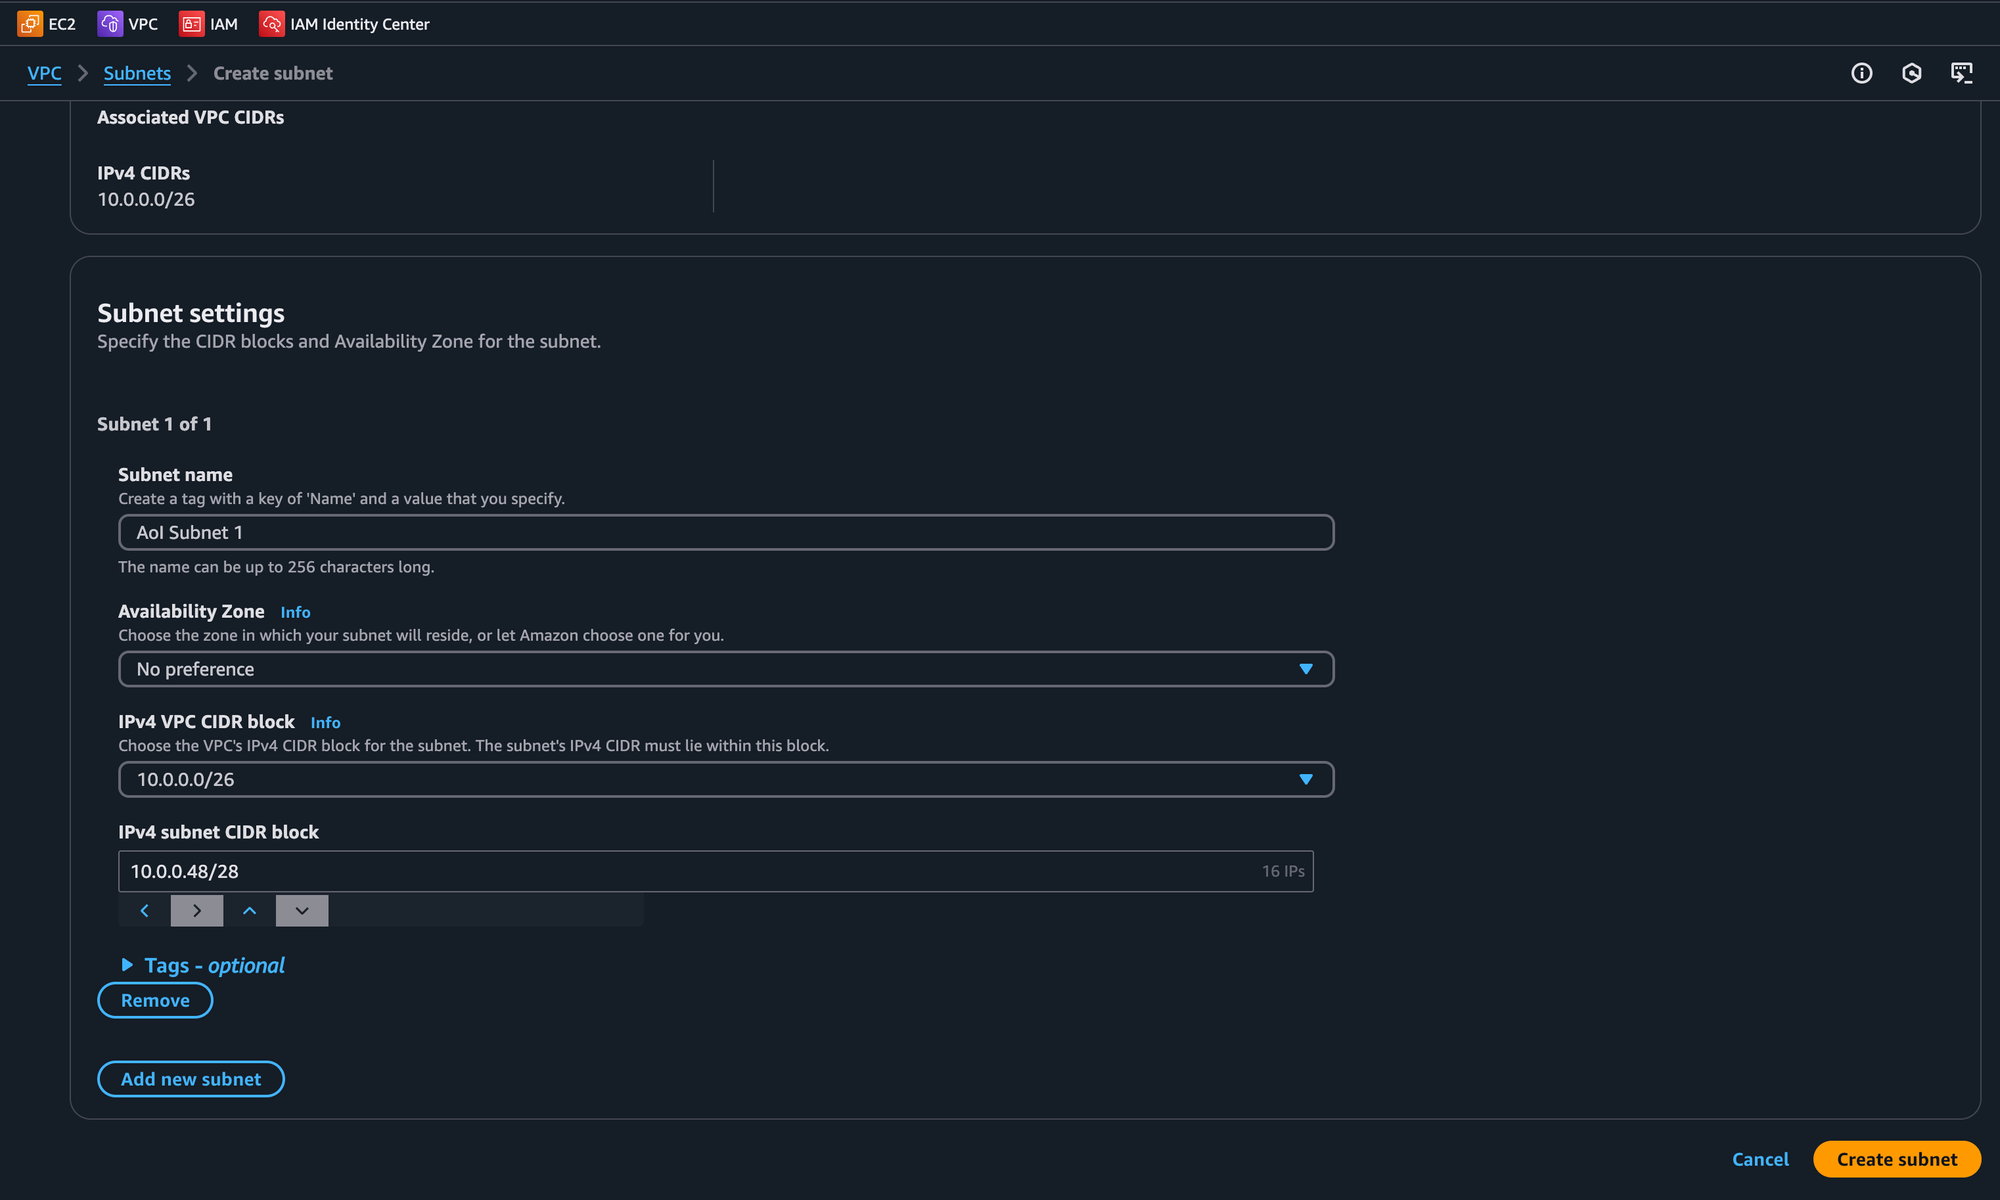
Creat a subnet within the VPC. Below, well use 10.0.0.48/28 allowing us use of 16 IP addresses (not considering the 5 reserved addresses by the VPC).
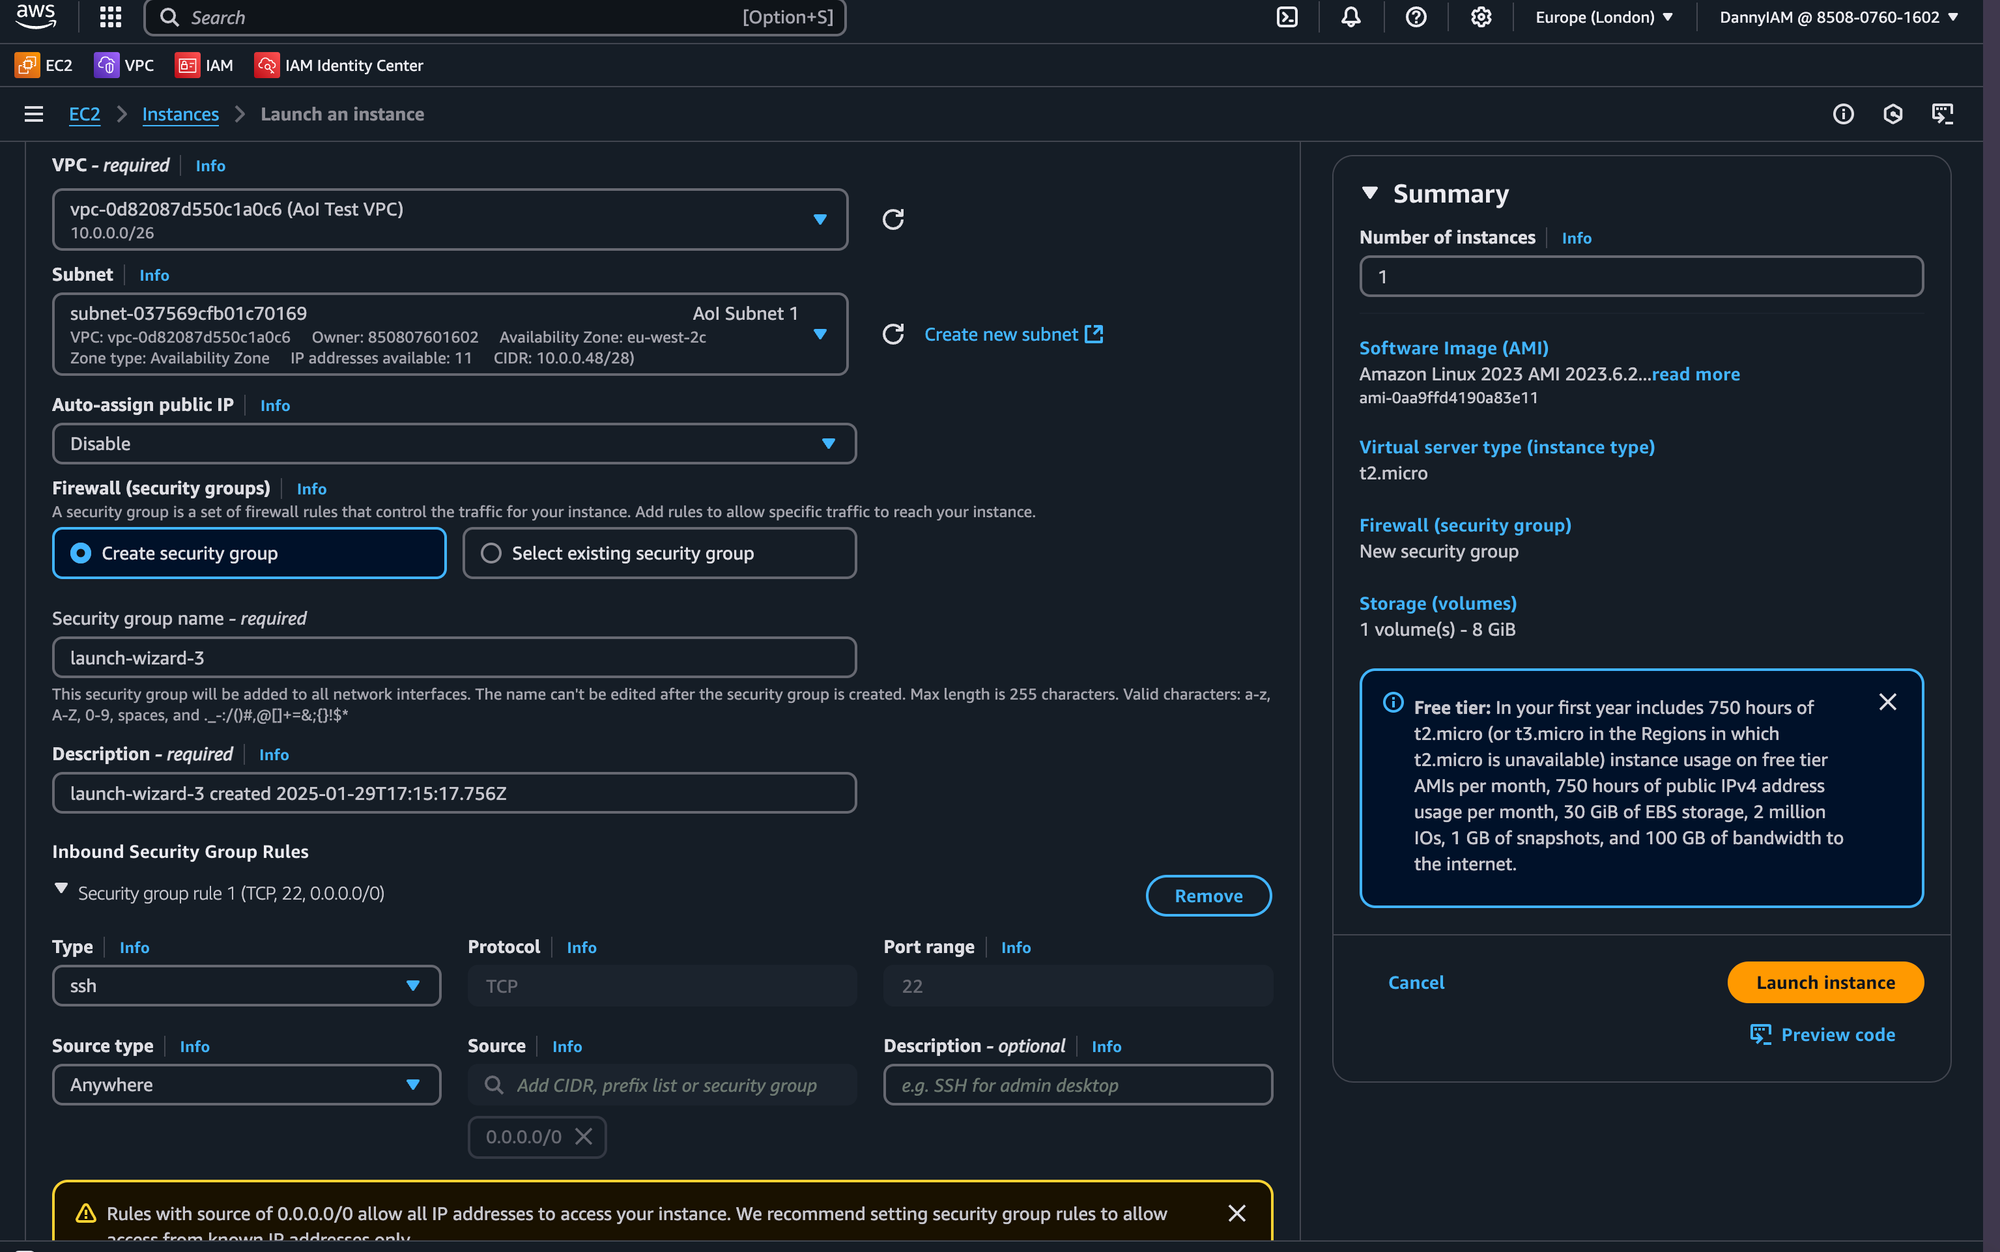
Spin up a new EC2 instance within the VPC and subnet. Ensure you select the correct VPC.
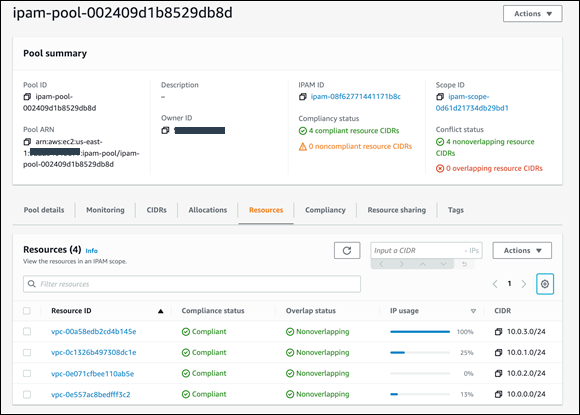
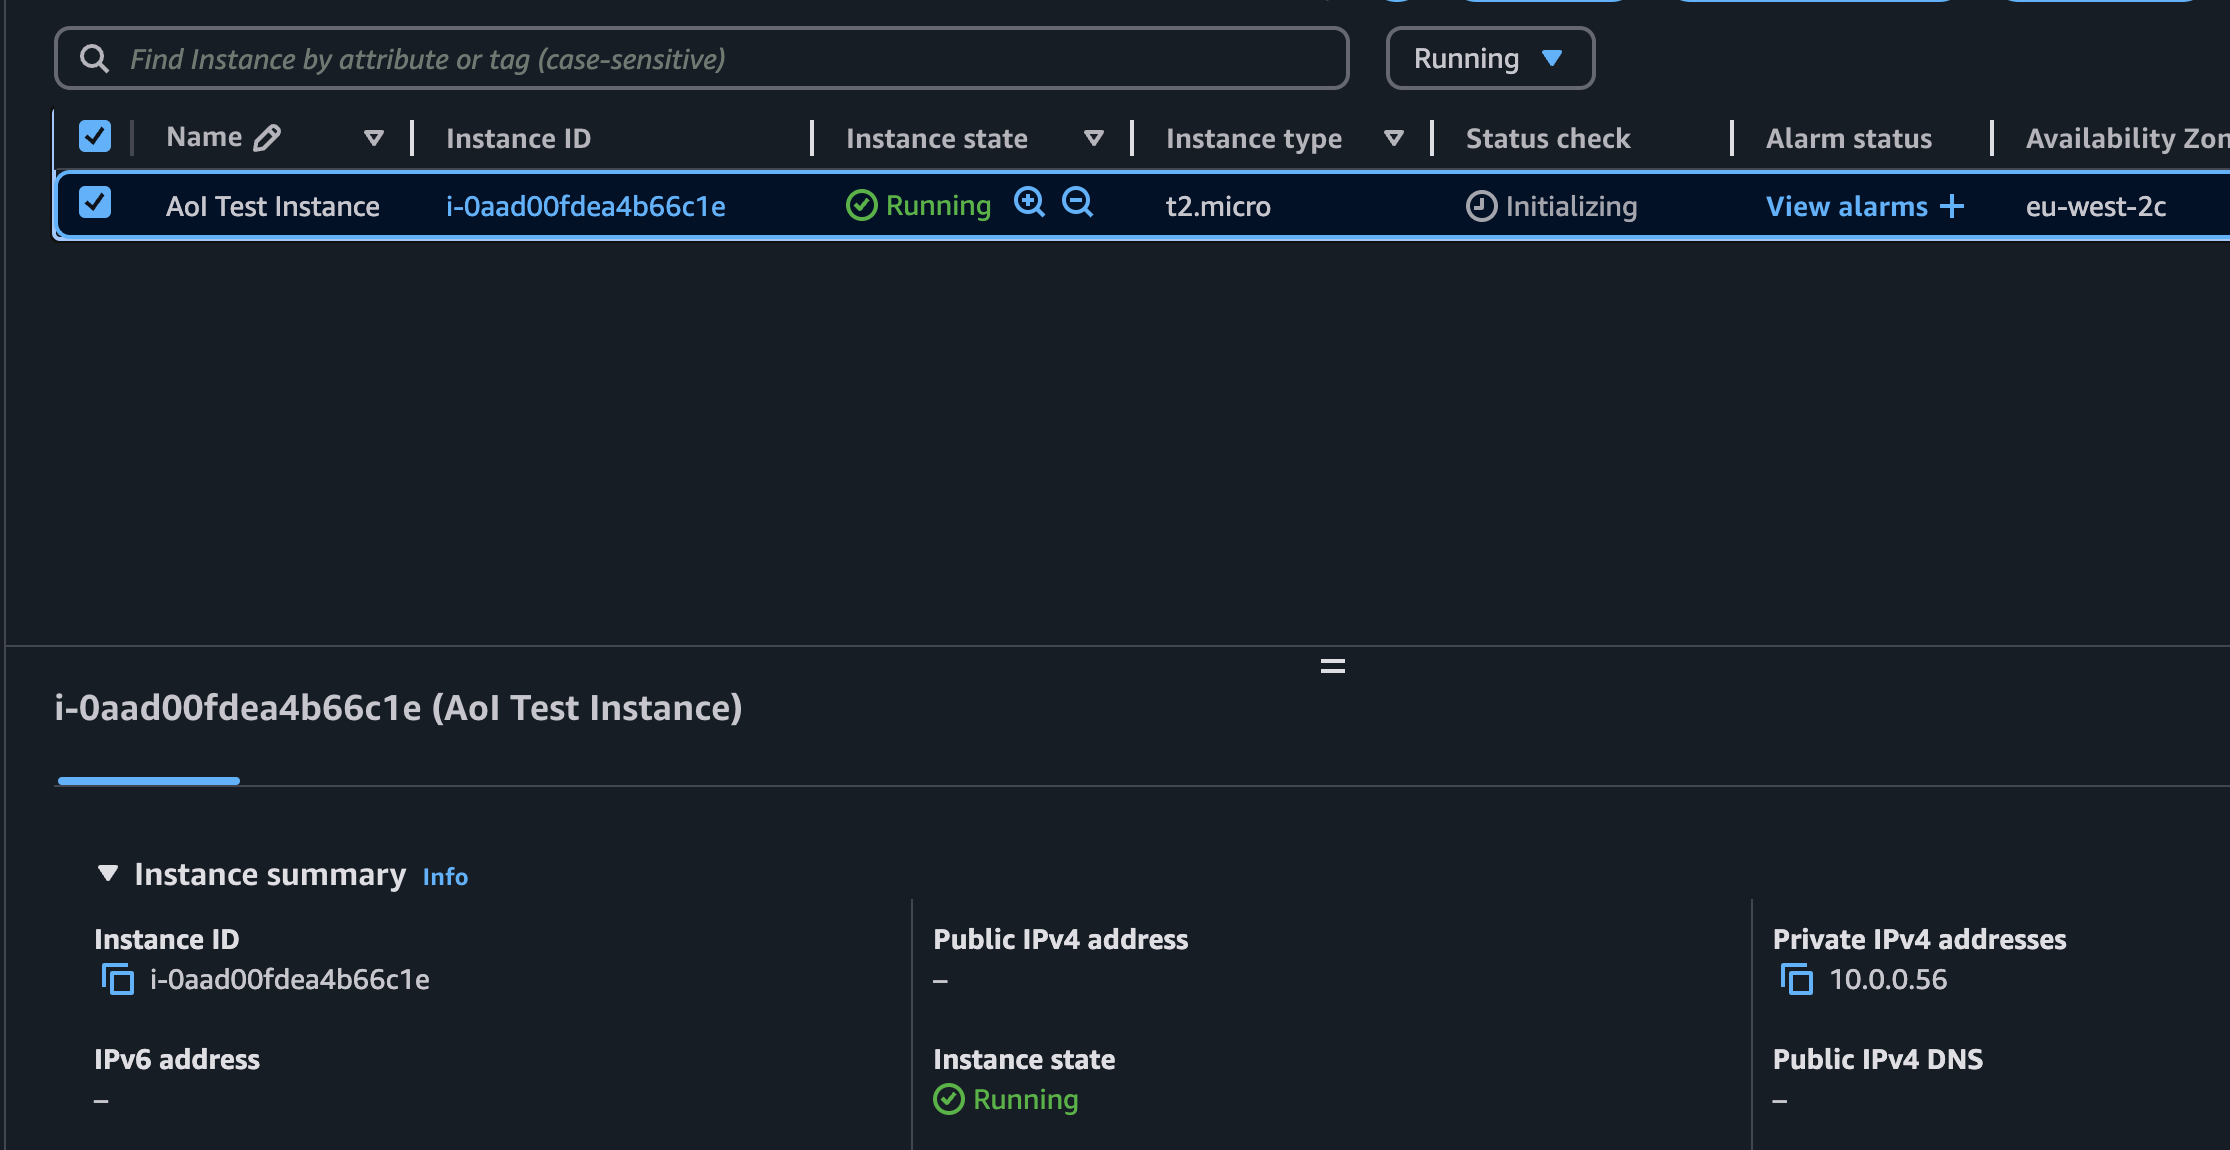
We can now see that the instance has taken an IP from the subnet range we specified earlier, from the IPAM Pool.
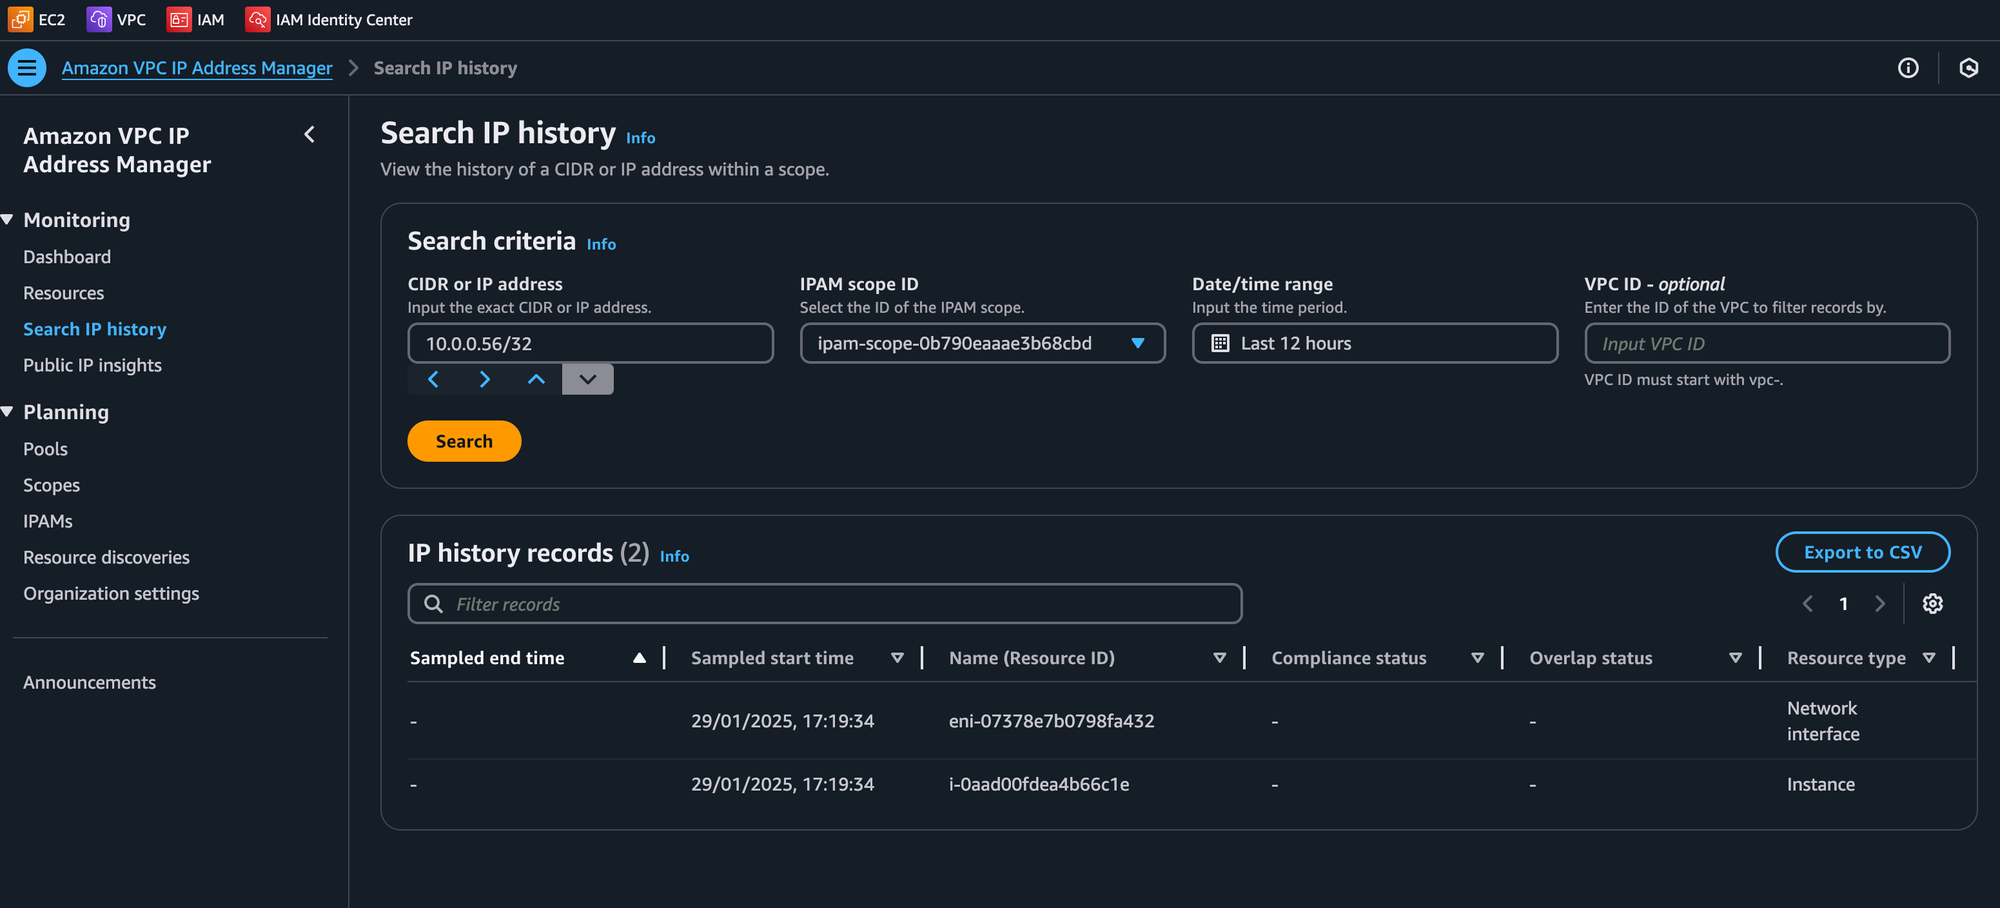
Within AWS VPC IPAM, you can now search for the address of your EC2 instance (ENI Interface) and track the history of that IP.
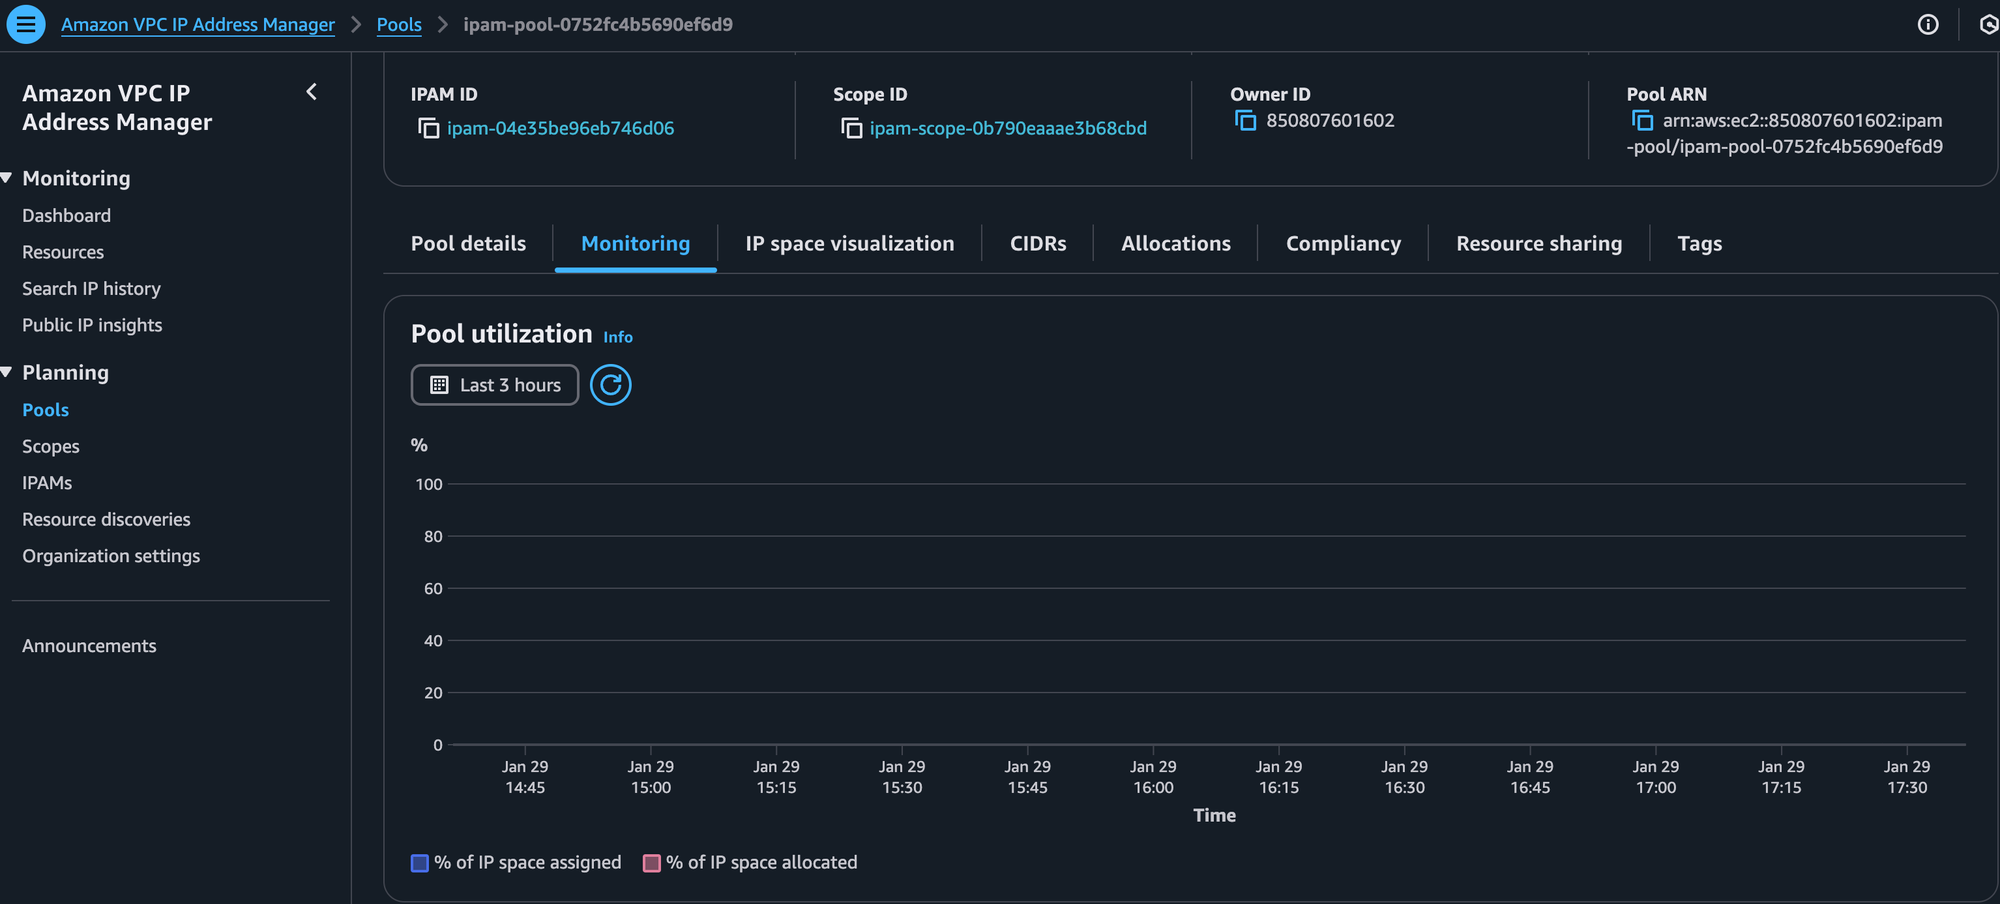
We can now visually see Pool utilisation, but, as we're utilising only 1 IP address, you more than likely won't see visible usage, unless you create your own smaller pool.
Ensure you clear down your EC2 resource created, the VPC and the IPAM pool once the prior 2 have been removed.
To build on this, try creating your own custom address pools or create a nested pool (a pool within a pool). Experiment and have fun with it. Remember, you're only ever charged for the IP address usage. Just ensure you clear down all resources when done!


